
Blog ·
Best panic exit hardware for schools and daycares 2026
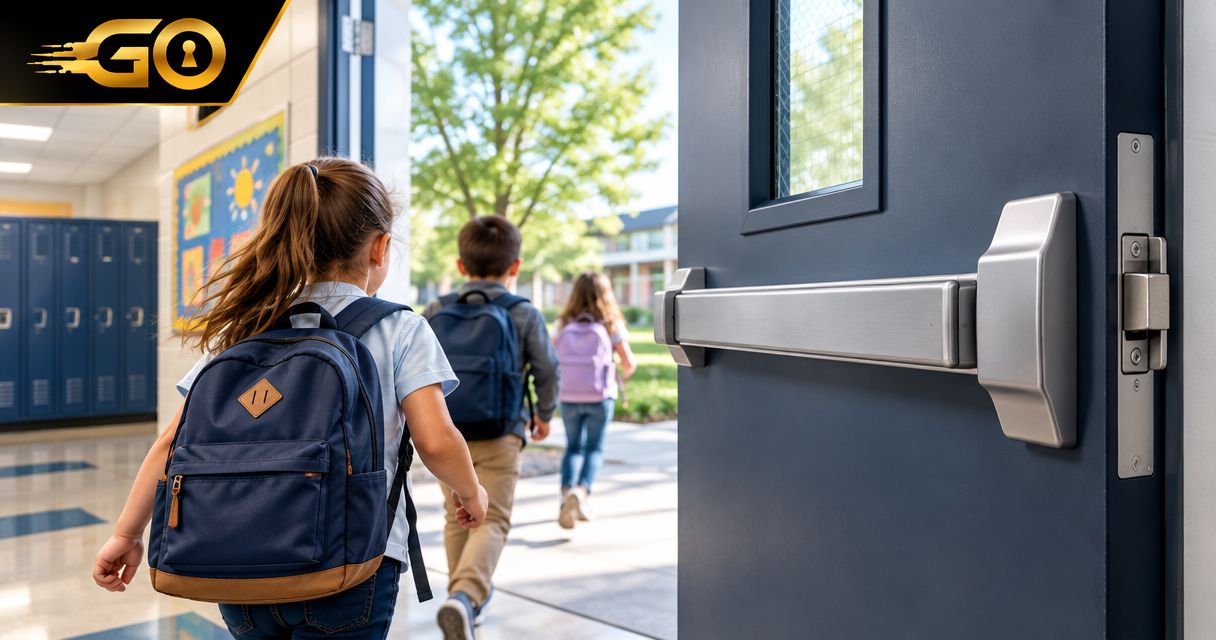
Best default for a compatible single door: rim panic hardware. Best for paired doors without a center mullion: surface vertical rod hardware. Best for concealed rods: concealed vertical rod hardware. Best for an existing compatible mortise preparation: mortise exit hardware. The best panic exit hardware for schools and daycares fits the door assembly, preserves required egress, and meets the requirements accepted by the local authority having jurisdiction.
TL;DR
- The best panic exit hardware for schools and daycares matches the door assembly, fire rating, and approved egress requirements.
- Rim panic hardware is the default shortlist for compatible single doors; paired doors need a different assessment.
- Fire-rated openings require compatible fire exit hardware, not an ordinary panic device chosen by appearance.
- GO Locksmith provides mechanical push bar and door closer services, not electronic access-control installation or repair.
A push bar is not a complete door specification. Before requesting commercial locksmith services, record whether the opening has a fire label, one leaf or two, and an existing exit device.
Why school and daycare exits need a door-specific choice
School and daycare doors must support supervision and security without creating an obstacle to escape. Keeping unauthorized people outside and allowing occupants to leave are separate functions; exterior locking must not defeat required operation from inside.
Occupancy classification, occupant load, door location, and the adopted code affect the requirements. A daycare in a converted building does not automatically have the same door specification as a school corridor or assembly space. Start with the opening, not a product catalog.
For the broader requirement question, read when a commercial building needs a push bar by fire code. Your local building or fire official determines which requirements apply to the actual opening.
What makes the best panic exit hardware
Use these criteria before comparing device types:
- Door and frame compatibility: Match the device to the door material, dimensions, existing preparation, frame, and any mullion.
- Required listing: Distinguish panic hardware from fire exit hardware and verify the exact device and assembly documentation.
- Reliable release and latching: The push pad must release the latch as intended, and the door must close and latch correctly.
- Maintenance access: Consider exposed rods, adjustment points, replacement parts, and the work needed to service concealed components.
- School operations: Specify exterior entry functions and staff procedures without adding unapproved barriers to egress.
- Whole-opening condition: Include hinges, closer, strike, alignment, and paired-door coordination where applicable.
A familiar brand name cannot make an incompatible device suitable. These recommendations compare mechanical configurations, not tested product models or endorsements of a particular manufacturer.
Panic exit hardware at a glance
| Rank and hardware type | Best for | Standout feature | Key limitation |
|---|---|---|---|
| 1. Rim panic hardware | Compatible single doors | Surface-mounted latch engages a frame-mounted strike | Paired doors often need a compatible mullion or another approved arrangement |
| 2. Surface vertical rod hardware | Compatible paired doors without a center mullion | Surface rods connect the device to top and bottom latching arrangements | Exposed rods and alignment need attention |
| 3. Concealed vertical rod hardware | Compatible doors designed for concealed components | Rods run inside the door | Door preparation and internal service access are more involved |
| 4. Mortise exit hardware | Doors already prepared for a compatible mortise exit lock | Exit device operates a lock case within the door edge | Not a straightforward substitute for a surface-mounted rim device |
Fire exit hardware is not a fifth competing configuration. It is a required specification for applicable fire-rated openings, and compatible versions exist within different hardware configurations.
1. Rim panic hardware: best for compatible single doors
Rim panic hardware uses a latch mounted on the inside face of the door that engages a strike at the frame. Pressing the pad retracts the latch so the door can open. This is a practical starting point for a single-leaf opening because the main latch mechanism is accessible on the door surface.
Rim panic hardware pros:
- Surface-mounted components are accessible for inspection.
- The configuration avoids vertical rods running along or inside the door.
- It suits many single-door applications when properly specified.
Rim panic hardware cons:
- Door pairs require additional compatibility checks, often involving a mullion.
- Frame and strike alignment still determine reliable latching.
- Existing holes or narrow door framing can restrict selection.
Best for: A compatible single school or daycare exit door where the frame can accept the required strike.
Verdict: Buy a compatible rim device after confirming the opening requirements. Do not assume the simplest-looking device is approved for every classroom, corridor, or exterior exit.
2. Surface vertical rod hardware: best for compatible paired doors
Surface vertical rod hardware connects the push pad to latching components through rods mounted on the door face. It is a candidate for paired doors where a center mullion is not part of the approved arrangement. The exact top and bottom latch configuration depends on the device listing and application.
This option deserves attention on doors used to move groups or equipment through a wider opening. Check both leaves together rather than treating each door as an isolated installation.
Surface vertical rod hardware pros:
- Supports suitable paired-door arrangements without a center mullion.
- Rods remain accessible without opening the door construction.
- Provides an alternative when rim hardware does not fit the opening design.
Surface vertical rod hardware cons:
- Exposed rods are vulnerable to impacts and interference.
- Top and bottom latching components require correct alignment.
- Floor strikes, where present, need to remain clear of debris.
Best for: Compatible paired exits where the approved design calls for vertical rod devices.
Verdict: Buy when the paired-door design requires this configuration. Avoid selecting it merely because it appears to provide more locking points.
3. Concealed vertical rod hardware: best for doors designed for internal rods
Concealed vertical rod hardware places the rods inside the door instead of along its surface. It serves a similar broad purpose to surface vertical rod hardware, but requires a door built or properly prepared for the selected system.
Concealed rods reduce exposed hardware. That benefit does not remove the need to inspect latch engagement, door alignment, and push-pad operation.
Concealed vertical rod hardware pros:
- Keeps rods out of direct contact with occupants and equipment.
- Leaves fewer exposed rod components on the door face.
- Supports compatible paired-door designs without surface rods.
Concealed vertical rod hardware cons:
- Compatibility depends heavily on the door's internal construction.
- Repairs can require more disassembly than surface-mounted systems.
- Retrofitting an unsuitable door is not a simple hardware swap.
Best for: Existing compatible concealed-rod openings or a properly specified door replacement project.
Verdict: Hold until the door preparation and service requirements are confirmed. Do not buy concealed hardware on appearance alone.
4. Mortise exit hardware: best for compatible existing mortise preparations
Mortise exit hardware operates a lock case installed in a pocket within the door edge. The push pad connects to that mechanism, making the lock preparation a central part of product selection.
For an existing mortise exit opening, retaining a compatible configuration can avoid an unnecessary change in hardware type. Compatibility still includes the case dimensions, trim, strike, handing, and applicable listing.
Mortise exit hardware pros:
- Suits doors designed around a mortise exit lock case.
- Keeps the main lock case within the door edge.
- Avoids surface vertical rods where that configuration is appropriate.
Mortise exit hardware cons:
- Requires a specific pocket and related door preparation.
- Replacement components are not universally interchangeable.
- Converting from another device type requires a separate assessment.
Best for: An existing compatible mortise exit installation, not a generic replacement for any push bar.
Verdict: Buy for a verified compatible mortise opening; skip as an assumed universal retrofit.
Check the opening before choosing a device
Use this sequence to organize an assessment. It is a purchasing checklist, not installation instructions or permission to modify a required exit.
- Identify the opening. Record the room served, whether the door leads outside or into a corridor, and whether it has one leaf or two.
- Check fire labels. Look for door and frame labels without removing, painting over, or altering them. Ask for the assembly documentation when the rating is unclear.
- Record existing hardware. Photograph the push bar, latch edge, strike, closer, and any rods or mullion. Include manufacturer labels where readable.
- Confirm requirements. Have the applicable egress and fire-door requirements established before ordering hardware.
- Review operation. Report dragging, failure to latch, loose components, or a push pad that sticks. Do not compensate by adding another lock.
The device choice follows these checks. Ordering first and trying to adapt the opening afterward risks buying hardware that does not fit the door or its required function.
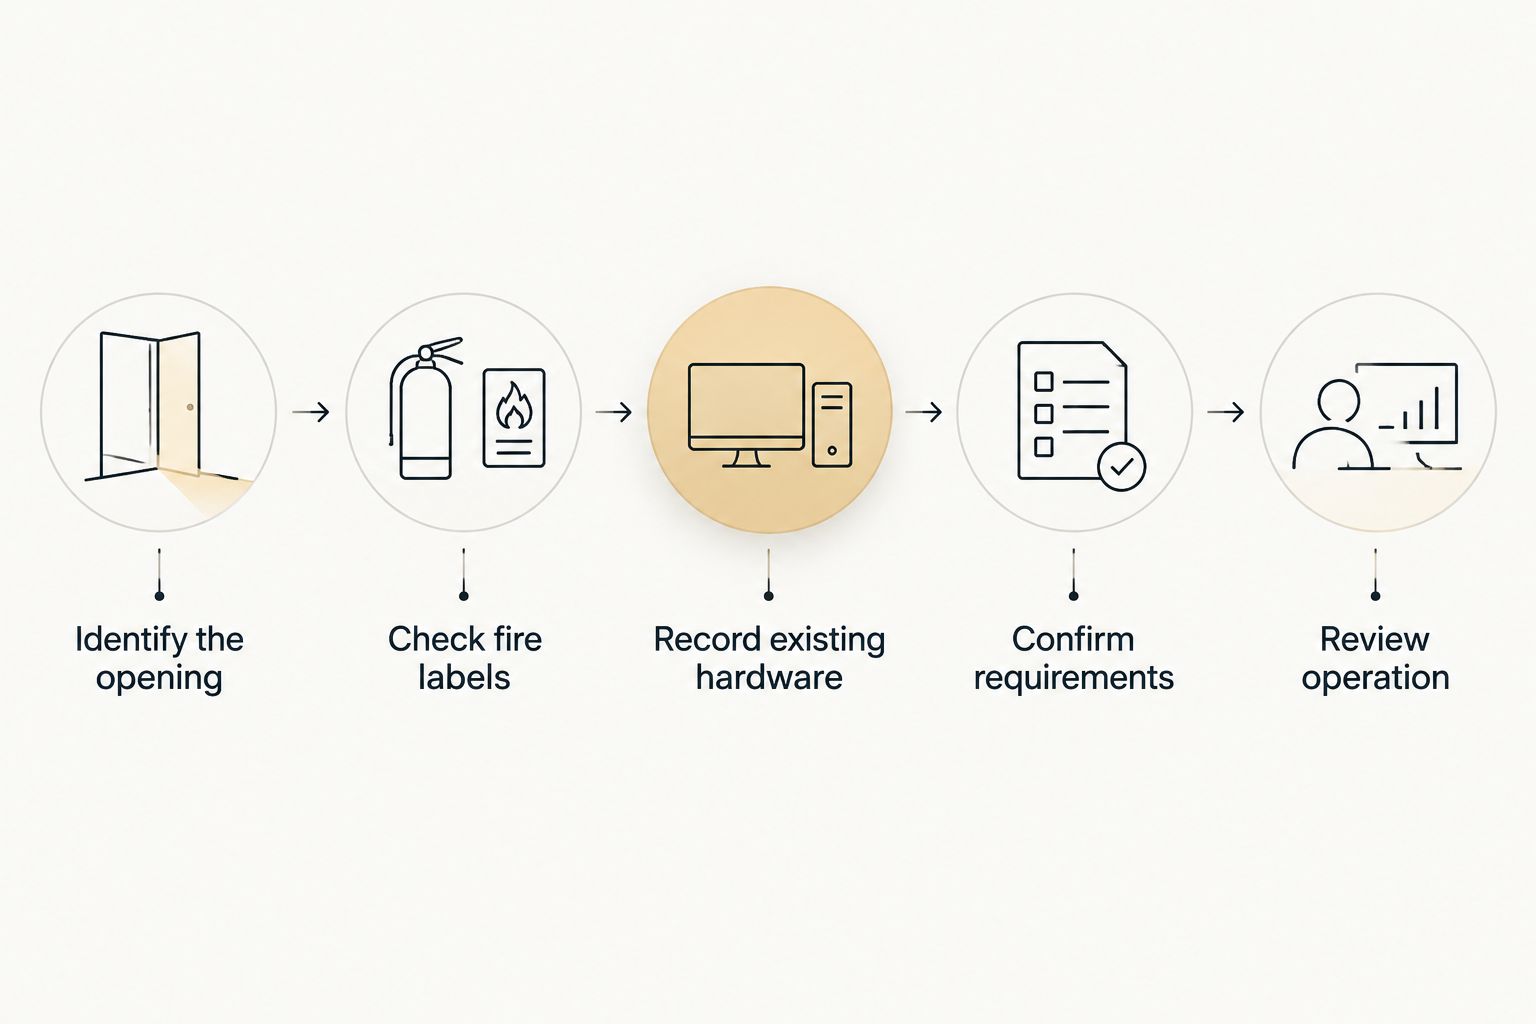
Confirm the opening requirements before ordering a replacement device.
Fire-rated doors and daycare security need separate checks
Ordinary panic hardware is not a substitute for required fire exit hardware. UL 305 addresses panic hardware; fire-door applications also require the appropriate fire listing and compatibility with the assembly. Verify the exact model documentation rather than relying on a seller's general description.
Fire exit hardware must preserve required positive latching. Mechanical dogging that holds the latch retracted is not an acceptable shortcut on a fire exit device. Do not prop open a fire door or alter its hardware to simplify daily access.
Daycare concerns about children leaving unsupervised also need a separate review. Do not add a high-mounted slide bolt, keyed interior lock, or improvised restraint to a required exit. Ask the authority having jurisdiction to review proposed arrangements before purchasing or modifying hardware.
Delayed-egress devices, alarms, and electronic locking involve additional requirements. This guide does not recommend them as a mechanical push-bar substitute, and GO Locksmith does not install or repair electronic access-control systems.
How these hardware types are ranked
The ranking prioritizes fit for a defined opening, required listings, straightforward mechanical operation, and service access. Rim hardware comes first as the starting shortlist for a compatible single door—not because it outranks vertical rod or mortise devices on doors designed for those configurations.
There is no defensible universal budget winner without a door assessment. A replacement device, required preparation, and work on the closer or strike are different job scopes; request an estimate for the actual opening rather than comparing bar-only descriptions.
Which panic exit hardware should you choose?
For a compatible single door, start with rim panic hardware and confirm whether fire exit hardware is required. For paired doors, establish the mullion and latching arrangement before choosing between rim and vertical rod devices. Preserve a compatible mortise configuration when the opening calls for it.
GO Locksmith is a mobile service for schools and daycares needing confirmed mechanical push bar, lock, and door closer services in its served areas. Southwest Florida coverage includes Fort Myers, Cape Coral, Lehigh Acres, Estero, Bonita Springs, and Naples; call to check current availability and discuss the opening.
FAQ
What's the best panic exit hardware for a school door?
Rim panic hardware is the starting shortlist for a compatible single school door. Paired doors, fire-rated openings, and existing mortise preparations require a door-specific selection.
Do all daycare doors need panic bars?
No single rule applies to every daycare door. Requirements depend on the adopted code, occupancy classification, occupant load, and the opening; confirm them with the local building or fire official.
Is panic hardware the same as fire exit hardware?
No. Fire exit hardware must satisfy the applicable panic and fire-door requirements, and the exact device must be compatible with the rated assembly.
Are surface rods better than concealed rods?
Surface rods offer easier access to the rods, while concealed rods reduce exposed components. The appropriate choice depends on the door construction, listing, and maintenance needs—not appearance alone.
Can a daycare put a second lock above the push bar?
Do not add a second lock to a required exit without confirming that the arrangement complies with applicable requirements. A lock intended to prevent children leaving must not create an unapproved obstacle to emergency egress.
How much does school panic hardware installation cost?
The job-specific estimate depends on the device, door preparation, fire-rating requirements, and related hardware condition. Call GO Locksmith at (239) 412-1101 to discuss the opening and request an estimate.
Does replacing the push bar fix a door that won't latch?
Not necessarily. Misalignment, a damaged strike, hinges, or a closer problem can prevent latching even when the push bar works; assess the complete opening before replacing parts.
One last thing: check what happens after release
A push pad that releases correctly does not prove the whole opening works. The door must also close and latch as required; report a door that drags, rebounds, or needs someone to pull it shut.
Need help with mechanical exit hardware? Call GO Locksmith at (239) 412-1101 to check availability or request a job-specific estimate. Hours are Sunday–Thursday 7:00 AM–11:00 PM and Friday 7:00 AM–5:00 PM; Saturday is closed.